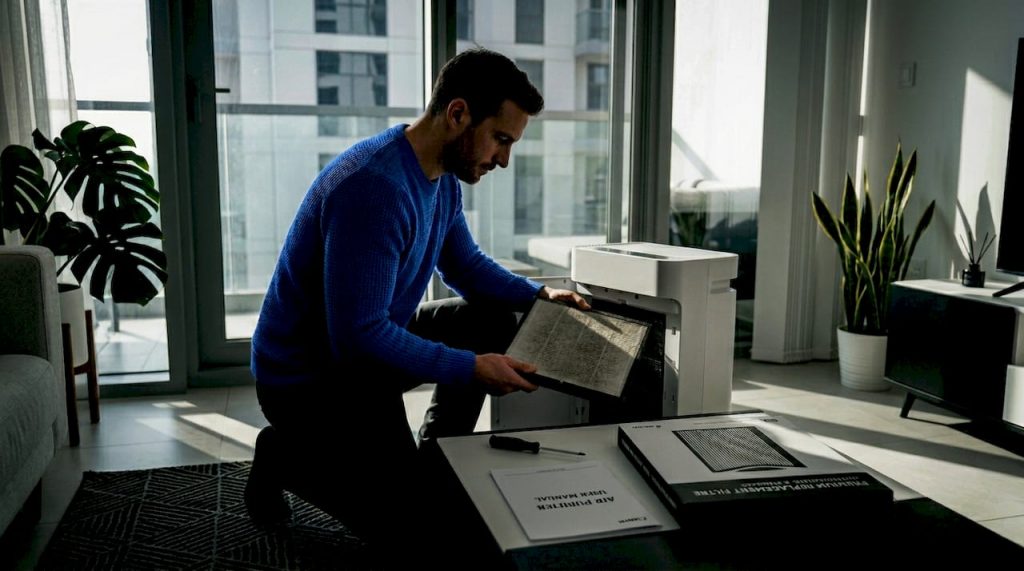
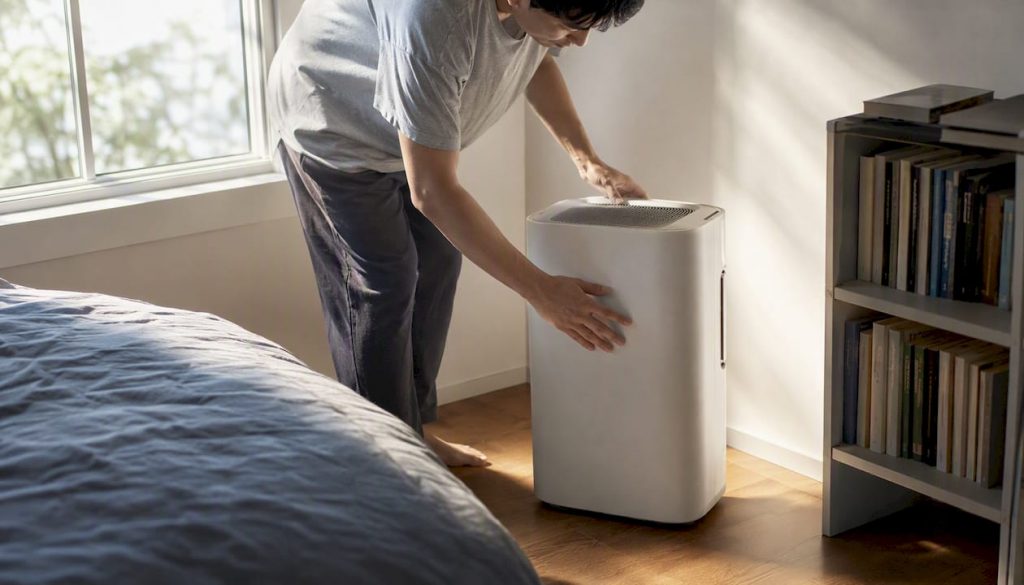
That single sequence covers the dehumidifier setup process from unboxing to first operation. The full guide below walks through each step in order, including Australian electrical safety requirements, sizing guidance, and a maintenance schedule to keep the unit running efficiently.
Before you start, complete these six actions in order:
- Stand the unit upright and leave it for 24 hours before plugging in (compressor oil settles during transit)
- Remove all packaging, tape, and any protective film from the filter housing
- Place the unit centrally in the room with sufficient clearance from walls on all sides
- Plug directly into a grounded 240 V wall socket — not a long extension cord
- Choose your drainage method: manual tank emptying, gravity hose to a floor drain, or condensate pump
- Set the humidistat to a moderate relative humidity level, or select continuous mode if the space is heavily damp
Safety note: Never run a dehumidifier from an ungrounded socket or a light-duty extension cord. Use a short, heavy-gauge appliance extension only if the wall socket is genuinely out of reach.
Key takeaways
Getting a dehumidifier working correctly comes down to four things: the right capacity for the space, correct placement with adequate clearance, a reliable drainage setup, and consistent filter maintenance.
| Point | Details |
|---|---|
| Wait 24 hours before first run | Stand the unit upright after delivery to let compressor oil settle before powering on. |
| Place centrally with 30 cm clearance | Keep at least 30 cm from all walls and furniture on every side for unrestricted airflow. |
| Set humidistat to 45–50% RH | Use continuous mode for the first 48 hours in heavily damp spaces, then switch to 45–50%. |
| Check a separate hygrometer at 48 hours | The unit’s built-in sensor is not a reliable room average; use a standalone hygrometer to confirm pull-down. |
| Climatepro dehumidifier range | Climatepro stocks sized residential and commercial units with delivery across the UAE for direct online purchase. |
Table of Contents
- What does the dehumidifier setup process look like, step by step?
- How do you choose the right type and capacity for your space?
- Where should you place a dehumidifier for best results?
- What drainage options do you have, and how do you set them up?
- What are the electrical safety requirements in Australia?
- How do you maintain a dehumidifier to keep it running efficiently?
- How do you troubleshoot common dehumidifier problems?
- What do indoor air quality specialists recommend you avoid?
- An honest view on what actually matters in the first 48 hours
- Climatepro has the dehumidifiers and guidance to get you started
- Sources
What does the dehumidifier setup process look like, step by step?
Follow this numbered checklist the first time you commission a unit. Each step builds on the previous one, so work through them in order.
-
Wait 24 hours upright after delivery. Refrigerant compressors can be damaged if started immediately after being transported on their side. Stand the unit in its final room and leave it overnight before powering on.
-
Unbox and inspect. Remove all packaging material, foam inserts, and transit tape. Check the filter housing for a protective film — many units ship with one fitted, and leaving it in place blocks airflow immediately.
-
Level the unit. Place it on a flat, firm surface. An unlevel unit can trigger the float safety switch and shut the machine off, making it appear faulty when it is not. Rosenberry Rooms notes that level placement is one of the most overlooked first-time checks.
-
Choose and set up your drainage method. Connect a garden hose to the drain port if you are using gravity drainage, or position the unit near a floor drain. For tank-only operation, confirm the tank is seated correctly before powering on.
-
Plug into a grounded wall socket. Avoid sharing the circuit with high-draw appliances. According to Basement Moisture Lab, the outlet should not be shared with sump pumps or window air conditioners.
-
Set the initial humidistat. Target 45–50% RH for most rooms. For a very damp space, select continuous mode for the first 48 hours to speed the initial pull-down phase.
-
Place a separate hygrometer across the room. The built-in sensor reads conditions near the unit, not the room average. A standalone hygrometer placed 2–3 metres away gives a more accurate picture of actual humidity levels.
-
Check back at 48 hours. The tank will fill quickly during pull-down. Heavy water collection in the first 24–48 hours is normal and expected; output tapers once the room reaches the target humidity.
Pro Tip: If the unit runs continuously for 48 hours and the hygrometer reading barely moves, the capacity is likely too small for the space, or there is an active moisture source such as a leaking pipe or unsealed subfloor.
How do you choose the right type and capacity for your space?
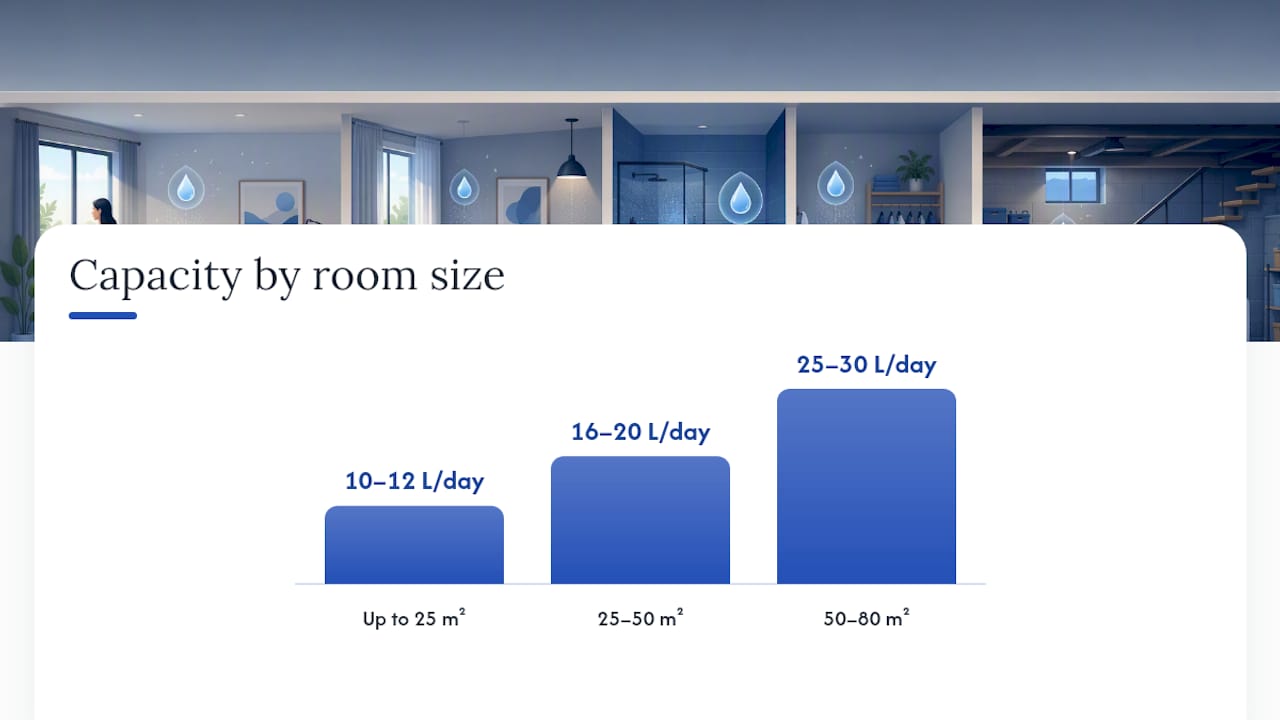
Portable refrigerant dehumidifiers suit most Australian homes and apartments. They handle single rooms or medium-sized open-plan areas well, and CNET’s installation guide confirms they are the most common type for residential use. Desiccant models work better in cooler spaces (below 15°C) because refrigerant coils lose efficiency at low temperatures. Whole-house units integrate with central HVAC systems and require duct access, level mounting, condensate piping with a continuous downward slope, and often a dedicated electrical circuit — a more involved installation covered in detail by The Home Fixes.
Capacity rule of thumb by room size:
- Up to 25 m²: 10–12 litres per day
- 25–50 m²: 16–20 litres per day
- 50–80 m²: 25–30 litres per day
- Basement or heavily damp space: add 20–25% to the above figures
An undersized unit runs continuously without reaching the target humidity. An oversized unit short-cycles, which reduces efficiency and increases wear. For a more precise match, use Climatepro’s dehumidifier sizing guide before purchasing.
Some manufacturers list capacity at higher temperatures, which inflates the figure for typical Australian indoor conditions.*
Where should you place a dehumidifier for best results?
Central placement in the room is the baseline rule. The unit draws air from all directions, so positioning it against a wall or in a corner restricts intake and reduces effective coverage. Maintain at least 30 cm of clearance from walls, furniture, and curtains on all sides.
Room-specific placement notes:
- Bathroom: Place near the door rather than directly beside the shower, where splashing can reach the unit. Run it during and after showering.
- Bedroom: Position away from the bed to reduce noise disturbance. Central floor placement or near the doorway works well.
- Basement: Avoid placing directly on cold concrete, which can cause condensation on the unit’s base. A rubber mat or low platform keeps airflow clear and reduces vibration transfer.
- Living area: Keep clear of HVAC return vents. Air drawn directly from a return duct skews the humidity reading and reduces efficiency.
Close doors and windows while the unit operates. An open window effectively means the unit is dehumidifying the outdoors.
What drainage options do you have, and how do you set them up?
Three drainage methods are available for most portable units.
-
Manual tank emptying. The simplest option. The tank fills and the unit shuts off automatically via a float switch. Suitable for low-humidity rooms or occasional use. Empty the tank daily during pull-down, less frequently once the room stabilises.
-
Gravity drain via hose. Attach a standard garden hose to the drain port at the rear or base of the unit. Route it to a floor drain, laundry tub, or sump. The hose must run continuously downhill with no sags or kinks. A sagging section creates a water trap that blocks flow and causes the tank to fill despite the hose being connected.
-
Condensate pump. Required when the drain point is at the same level as or above the unit. An external condensate pump connects to the drain port and pumps water up and away. Position the pump below the unit’s drain port so gravity feeds it. Check the pump’s maximum lift height against your drain location before purchasing.
Pro Tip: After connecting a gravity hose, run the unit for 30 minutes and check that water is actually exiting at the drain end. A blocked or kinked hose is the most common reason a tank fills even with a hose attached.
For whole-house systems, condensate piping requires a continuous downward slope and a condensate trap to prevent air bypass through the drain line.
What are the electrical safety requirements in Australia?
Australian dehumidifiers operate on 240 V / 50 Hz. Plug directly into a grounded (earthed) 10 A wall socket. The unit must be the only appliance on that circuit during initial pull-down, when current draw is at its highest.
- Avoid sharing the circuit with sump pumps, air conditioners, or other high-start-draw appliances — Basement Moisture Lab specifically flags this as a cause of nuisance tripping
- If the nearest socket is more than 1.5 metres away, use a short, heavy-gauge appliance extension cord rated for the unit’s wattage — not a light-duty power board
- All Australian homes built after 1991 are required to have residual current devices (RCDs) on power circuits; confirm yours is active before running the unit in a damp area such as a basement or laundry
- Larger commercial units drawing above 10 A may require a dedicated 15 A or 20 A circuit — engage a licensed electrician for any new circuit installation or hardwiring
Pro Tip: If the unit trips the RCD on first start, unplug everything else on that circuit and try again. A persistent trip on a clear circuit indicates a fault in the unit itself — do not continue using it.
How do you maintain a dehumidifier to keep it running efficiently?
A dirty filter is the single most common cause of reduced performance. Consumer Reports recommends regular filter and grille cleaning alongside routine tank emptying as the core maintenance actions.
Maintenance schedule:
- Daily (during pull-down): Check and empty the tank if not using a drain hose.
- Weekly: Wipe the exterior grille with a damp cloth. Remove the water tank, rinse with clean water, and wipe dry. A diluted white vinegar solution (1 part vinegar to 10 parts water) inhibits mould growth in the tank without damaging the plastic.
- Monthly: Remove the filter, wash gently under cool running water, and allow to dry fully before reinserting. Never run the unit without the filter fitted.
- Quarterly: Inspect the drain hose for kinks, algae build-up, and secure connections. Check the unit’s seals and any visible wiring for wear.
- Annually: For heavily used units, have a technician inspect the compressor and evaporator coils. Coil fouling reduces moisture extraction capacity noticeably over time.
Replace the filter when washing no longer restores airflow — most residential filters last 6–12 months depending on usage and air quality.
How do you troubleshoot common dehumidifier problems?
- No water collecting after 24 hours: Confirm the humidistat is set below the current room humidity. If the room is already below the setpoint, the unit will not run. Check the hygrometer reading, not the unit’s built-in display.
- Tank fills even with hose connected: The hose has a sag or kink blocking gravity flow. Straighten the hose and confirm continuous downward slope to the drain.
- Unit short-cycles (starts and stops frequently): The room has reached the target humidity, or the unit is oversized. Lower the setpoint slightly and monitor over 24 hours.
- Loud vibration or rattling: The unit is on an uneven surface, or the tank is not seated correctly. Re-level and reseat the tank.
- RCD trips on start-up: Remove other appliances from the circuit. A persistent trip on a clear circuit indicates an internal fault — stop using the unit and contact the manufacturer.
- Ice forming on coils: Room temperature is below 15°C. Refrigerant units lose efficiency and can ice up in cold conditions. Switch to a desiccant model for spaces that regularly fall below this threshold.
The 48-hour hygrometer check is the most reliable diagnostic. If humidity has not dropped measurably after two days of continuous operation, the unit is undersized, there is an uncontrolled moisture source, or the space is not adequately sealed.
What do indoor air quality specialists recommend you avoid?
Expert tips:
- Use a separate hygrometer placed across the room — the unit’s built-in sensor reads only the air immediately around the intake
- Do not set the long-term target below 40% RH; air that is too dry causes its own problems, including respiratory irritation and static build-up
- Close all doors and windows while the unit runs — every gap adds load
- Lift the unit off cold concrete floors to reduce condensation on the base and dampen vibration noise
Top five first-time mistakes:
- Plugging in immediately after delivery without waiting 24 hours upright
- Placing the unit in a corner or against a wall with less than 30 cm clearance
- Setting the target humidity too low (below 40%) and running the unit harder than necessary
- Sharing the circuit with a sump pump or air conditioner
- Skipping filter cleaning until the unit noticeably underperforms
For further guidance on choosing the right unit for your space, the role of portable dehumidifiers in Australian homes covers capacity selection and energy use in detail.
Pro Tip: A compact smart dehumidifier such as the Xiaomi Smart Dehumidifier Lite includes a built-in humidity display and auto-shutoff, which simplifies the initial setup process for smaller rooms.
An honest view on what actually matters in the first 48 hours
Most setup guides focus on the steps, but the 48-hour window after first run is where the real diagnostic happens. A unit that collects several litres of water in the first day is working correctly — that is the pull-down phase drawing accumulated moisture from walls, furnishings, and air. What matters is whether the hygrometer reading across the room trends downward over that period.
If it does not, the problem is almost never the unit itself. It is usually an unsealed space, an active moisture source, or a capacity mismatch. No amount of repositioning or resetting fixes a unit that is simply too small for the volume of air it is trying to treat.
The other point worth making: electrical safety is not optional. Running a dehumidifier from a light-duty extension cord or an ungrounded socket in a damp basement is a genuine risk. Australia’s RCD requirements exist for exactly this scenario. Check the protection is active before the unit runs.
Climatepro has the dehumidifiers and guidance to get you started
Getting the setup right starts with having the right unit for the space. Climatepro stocks a curated range of residential and commercial dehumidifiers, including compact smart models for apartments and higher-capacity units for larger homes, with delivery across the UAE.

Every product in the Climatepro dehumidifier range is matched to room size and use case, so you are not guessing at capacity. The catalogue includes detailed specifications and sizing guidance to help you select a unit that will reach your target humidity without running continuously at full load. Browse the range and place your order directly online.
Sources
- How to get the most from your dehumidifier | Consumer Reports
- Here’s How to Install a Portable Dehumidifier in 4 Simple Steps – CNET
- How to set up a basement dehumidifier for the first time (step-by-step) | Basement Moisture Lab
- How to use a dehumidifier: complete guide | Rosenberry Rooms
- How to install whole home dehumidifier | The Home Fixes