
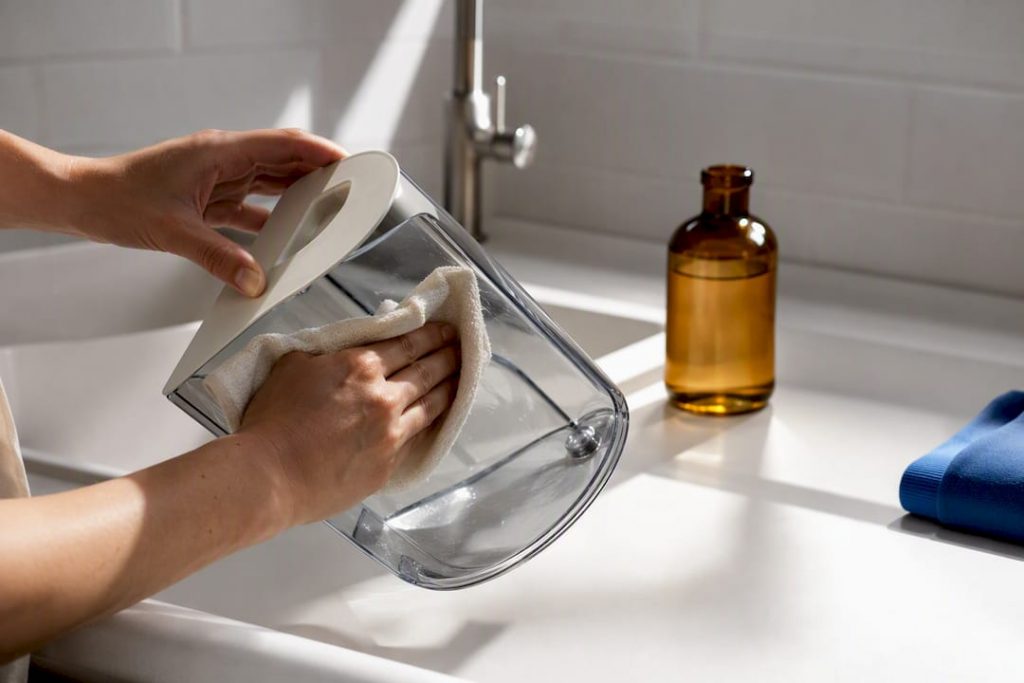
Yes, white distilled vinegar safely descales and sanitises most humidifiers when used correctly. The one-line method: unplug the unit, empty the tank, soak the removable parts in full-strength vinegar (or a 1:1 vinegar-to-water mix for sensitive components) for a typical soak time between a quarter of an hour and half an hour, scrub, rinse thoroughly, air-dry, and reassemble. The one rule that overrides everything else: never mix vinegar with bleach, and keep every electrical part completely dry.
TL;DR:
- Regular weekly vinegar soaks are essential for effectively removing mineral scale and preventing bacterial growth in humidifiers.
- Never submerge the base with heating elements or ultrasonic discs, and always rinse all parts thoroughly after vinegar treatment.
- Replace filters and cartridges promptly if showing signs of discoloration, musty odors, or mist reduction, since vinegar cannot clean saturated filters.
- Use full-strength vinegar for heavily scaled tanks and a 1:1 mixture for sensitive rubber seals, and avoid mixing vinegar with bleach due to hazardous gas production.
- Following manufacturer guidelines and routine cleaning prevents mineral buildup, bacteria growth, and prolongs the humidifier’s functional life.
Table of Contents
- Supplies and safety checks before you clean your humidifier with vinegar
- How to clean a humidifier with vinegar step by step
- Filter and cartridge care: what vinegar can’t fix
- How often should you clean your humidifier?
- Vinegar, bleach, or hydrogen peroxide: which should you use?
- Authoritative notes on humidifier care
- A ten-minute weekly checklist worth keeping
- Where to find genuine replacement parts and filters
- Sources
Supplies and safety checks before you clean your humidifier with vinegar
Gather everything before you start pulling the unit apart. You’ll need white distilled vinegar, clean water, a soft brush or an old toothbrush, a measuring cup, dry towels, and gloves if you prefer to keep vinegar off your hands.
- white distilled vinegar (excluding other types like apple cider or malt)
- Clean water for rinsing
- Soft brush or toothbrush for tight corners
- Measuring cup for accurate ratios
- Dry towels for draining parts
- Gloves (optional)
Check the owner’s manual first. Some tanks and bases are dishwasher-safe, others are not, and manufacturers occasionally flag specific parts that vinegar shouldn’t touch. Once you’ve confirmed that, unplug the unit at the wall, work in a ventilated room, and never combine vinegar with bleach or any other cleaning agent. The EPA’s guidance on home humidifiers notes that a poorly maintained unit can aerosolise bacteria, mould, and mineral dust straight into the room you’re trying to make more comfortable.
Pro Tip: Keep the power cord looped away from the sink or soaking tub the entire time. A distracted moment with a wet cord is the most common accident during humidifier cleaning.
How to clean a humidifier with vinegar step by step
This is the sequence that handles the tank, the base, and the fiddly bits most people give up on.
- Unplug, empty, and disassemble. Empty any remaining water, then take the unit apart following the manual. Remove filters or wicks before adding any liquid. Set seals and gaskets aside carefully; they’re easy to lose and awkward to replace.
- Choose your vinegar strength. Use full-strength white vinegar for heavy mineral scale on tanks and plastic reservoirs. For gaskets, rubber seals, or anything the manual flags as sensitive, cut it 1:1 with water. Good Housekeeping’s cleaning workflow recommends pouring 1 to 2 cups of undiluted vinegar into the tank, swirling it to coat the interior, then letting it sit. A soak time of about a quarter to half an hour is typical; give heavily scaled units up to an hour.
- Treat the base carefully. Never submerge the whole base if it houses a heating element or ultrasonic disc. Instead, pour a small amount of vinegar into the reservoir tray, let it sit long enough to loosen mineral deposits, then tip it out. Consumer Reports suggests a soak time of about 15 to 20 minutes for this kind of descaling.
- Scrub the crevices. Use a soft brush on the tank threads and a toothbrush on ridges and valves. Cotton swabs dipped in vinegar work well for narrow nozzles and mist outlets, where mineral crust builds up fastest and where a normal brush can’t reach.
- Rinse until the vinegar smell is gone. Residual vinegar left in a tank can sour the next batch of mist, so rinse every part under running water at least twice. Air-dry everything on a towel, out of direct sunlight, before reassembling. Run the unit briefly with plain water before your next full fill to flush out any last trace.
That’s a small time investment against the alternative: a tank crusted with limescale that reduces mist output and gives bacteria somewhere to hide.
Filter and cartridge care: what vinegar can’t fix
Vinegar cleans hard plastic surfaces. It does not clean paper, wick, or HEPA-style filters, and soaking one will usually ruin it. Always remove these before you start any liquid cleaning step.
- Paper and wick filters absorb water and vinegar, then break down or mould from the inside out
- Replace a filter showing discolouration, a persistent musty smell, or a noticeable drop in mist output
- Follow the replacement interval printed in your manual rather than guessing by eye
- If your unit uses a demineralisation cartridge, check the manual first. Some tolerate an occasional vinegar rinse; others need straight replacement once they’re spent
Filters and wicks are often where microbial growth actually takes hold, since they stay damp longer than any other part of the unit. No amount of vinegar restores a filter that’s already saturated with mineral scale or biofilm. That’s a replacement job, not a cleaning one.
How often should you clean your humidifier?
A tank that gets a daily wipe rarely needs a heroic weekend deep clean. Build the habit in three layers.
- Daily: empty, rinse, towel-dry, and refill with fresh water. Don’t let standing water sit in the tank overnight
- Weekly: full vinegar soak and scrub, following the step-by-step method above
- Monthly: inspect seals and gaskets for wear, and replace filters or cartridges as the manual specifies
The Spruce recommends weekly vinegar cleaning during heavy-use seasons, increasing frequency if running continuously if you’re running the unit around the clock through a dry winter or dusty summer.
White, chalky dust settling near the unit is mineral residue from tap water, not mould. Switching to distilled water or fitting a demineralisation cartridge cuts it down significantly. A musty smell or visible dark spots inside the tank is a different problem: increase cleaning frequency immediately, and if the smell or discolouration keeps returning after repeated vinegar cleans, stop using the unit and check with the manufacturer, or replace it.
Pro Tip: If you’re refilling daily but still notice white residue on furniture nearby, the culprit is almost always hard tap water, not a dirty tank.
Vinegar, bleach, or hydrogen peroxide: which should you use?
Vinegar handles the two jobs that matter most for routine care: it dissolves mineral scale and provides basic sanitising against everyday bacterial growth. For weekly upkeep, it’s the safer default because it’s cheap and gentle on the plastics and seals most humidifiers are built from.
- Vinegar: removes scale, basic sanitising, safe for regular use on plastic parts
- Bleach: stronger disinfectant, but can degrade seals and plastic over repeated use, and manufacturer approval should be checked first
- Hydrogen peroxide: a reasonable follow-up disinfectant after a full vinegar clean and rinse
Consumer Reports warns explicitly against mixing vinegar with bleach, since combining the two produces hazardous gases. If your manual permits bleach for occasional deep disinfection, rinse the vinegar completely first, use a dilute bleach solution exactly as the manufacturer specifies, then rinse again before reassembling. Never layer bleach and hydrogen peroxide either. Treat them as separate steps with a full water rinse between each, never as a combined solution.
Authoritative notes on humidifier care
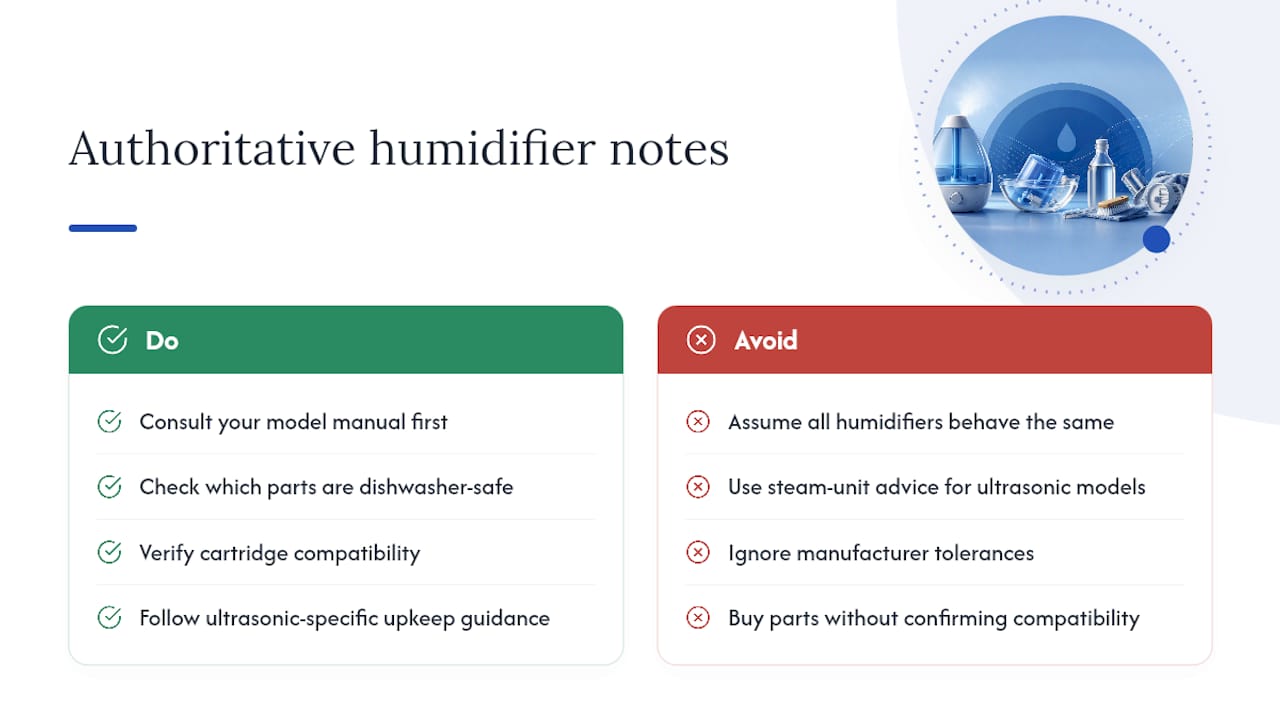
Manufacturer manuals remain the final word on what a specific model can tolerate, particularly around dishwasher-safe parts and cartridge compatibility. A guide to ultrasonic humidification covers safe operation and upkeep for that humidifier type specifically, which behaves differently to steam units when it comes to mineral buildup. Before your next clean, check your model’s manual and browse Climatepro’s humidifier range if you need compatible parts. This article was prepared by Nevel, with a focus on indoor air quality practice.
A ten-minute weekly checklist worth keeping
Three habits cover most of what matters: rinse and towel-dry the tank daily, run a full vinegar soak weekly, and replace the filter on the schedule your manual sets out, not whenever it looks bad. None of that takes long, but skipping it is exactly how a humidifier meant to improve your air quality ends up doing the opposite.
— Nevel
Where to find genuine replacement parts and filters
Vinegar keeps a humidifier clean, but it can’t revive a filter that’s past its working life or a tank with cracked seals. When that point arrives, a UAE catalogue carries replacement filters matched to specific humidifier models, so you’re not guessing at compatibility from a generic listing.

Buying the wrong filter size is the single biggest reason homeowners end up frustrated with a “faulty” humidifier that was actually just running on the wrong part. Product pages list model compatibility clearly, which saves the return-and-reorder cycle that generic filter listings often cause. If your unit has reached the end of its life rather than just needing a clean, A humidifier catalogue covers ultrasonic and evaporative models suited to homes, nurseries, and small offices. Check your current model’s filter code against the listing, or reach out for help matching a replacement before you buy.
Sources
- How to clean your humidifier | Consumer Reports
- Use and care of home humidifiers | EPA
- How to properly clean a humidifier | Good Housekeeping
- How to clean a humidifier with vinegar | The Spruce